Instructions for changing your photo in moodle:
1. Save a picture to your hard drive (skip this step if you already have a picture on your computer)
a. Show the picture on your internet browser
b. Right click and choose "save file as"
c. Save the file into your downloads folder
2.
Crop a picture of you to only have your face
using google drawing:
a. Open your Adelphi Email.
b. Click on the application icon

c. Click on the google drive icon

d. Choose New and then click more and then google drawings
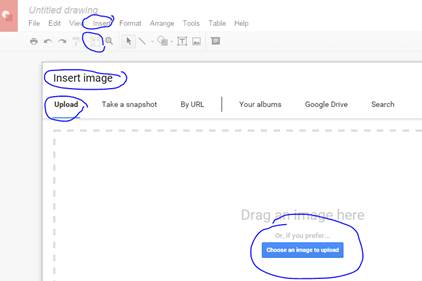
e. Insert an image using : insert / image / upload / choose an image to upload
f. Then choose upload and then "choose an image to upload"
g. Navigate to your picture and double click it.
h. Click on the crop tool

(If you don't see the crop tool, maybe your picture is not selected, so click on the picture.)
i. This makes the picture outline have handles. Push those handles until the part you want cropped is in the frame.
j. Then press enter.
k. Save the picture by choosing
File / Download as / Jpeg
3. Upload the picture to moodle.
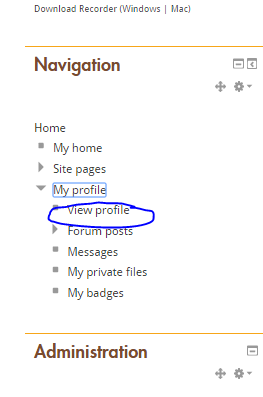
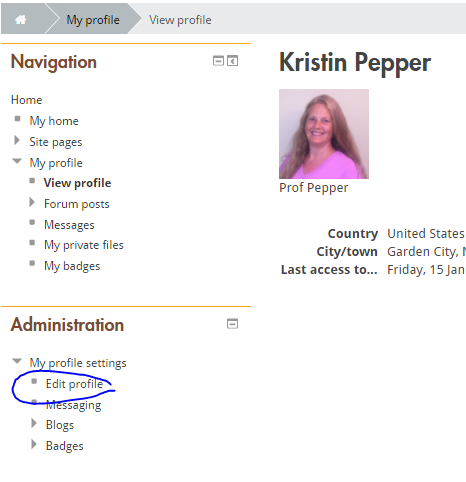
a. Go to your home page by clicking "My Profile" Under "Navigation" and then "View Profile" and then "Edit Profile".
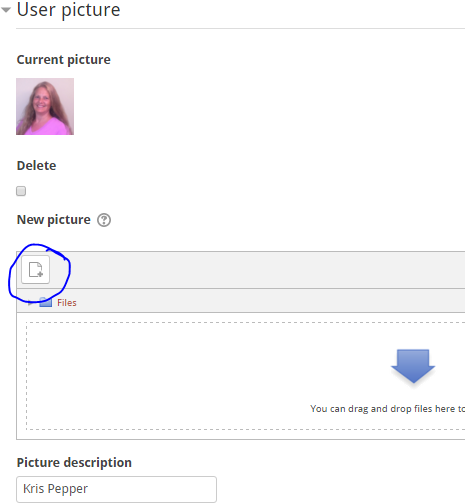
b. Scroll down to click "User Picture"
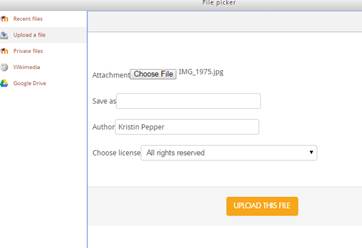
c. Then click the upload file button under "New Picture"
d. Then click choose file and navigate to your picture. Double click your picture.
e. Then click "upload this file"
·
The upload image will be reduced and saved in
two files of 100px by 100px and 35px by 35px.
· The picture description appears when the mouse rolls over the picture.
(from https://docs.moodle.org/24/en/User_pictures)