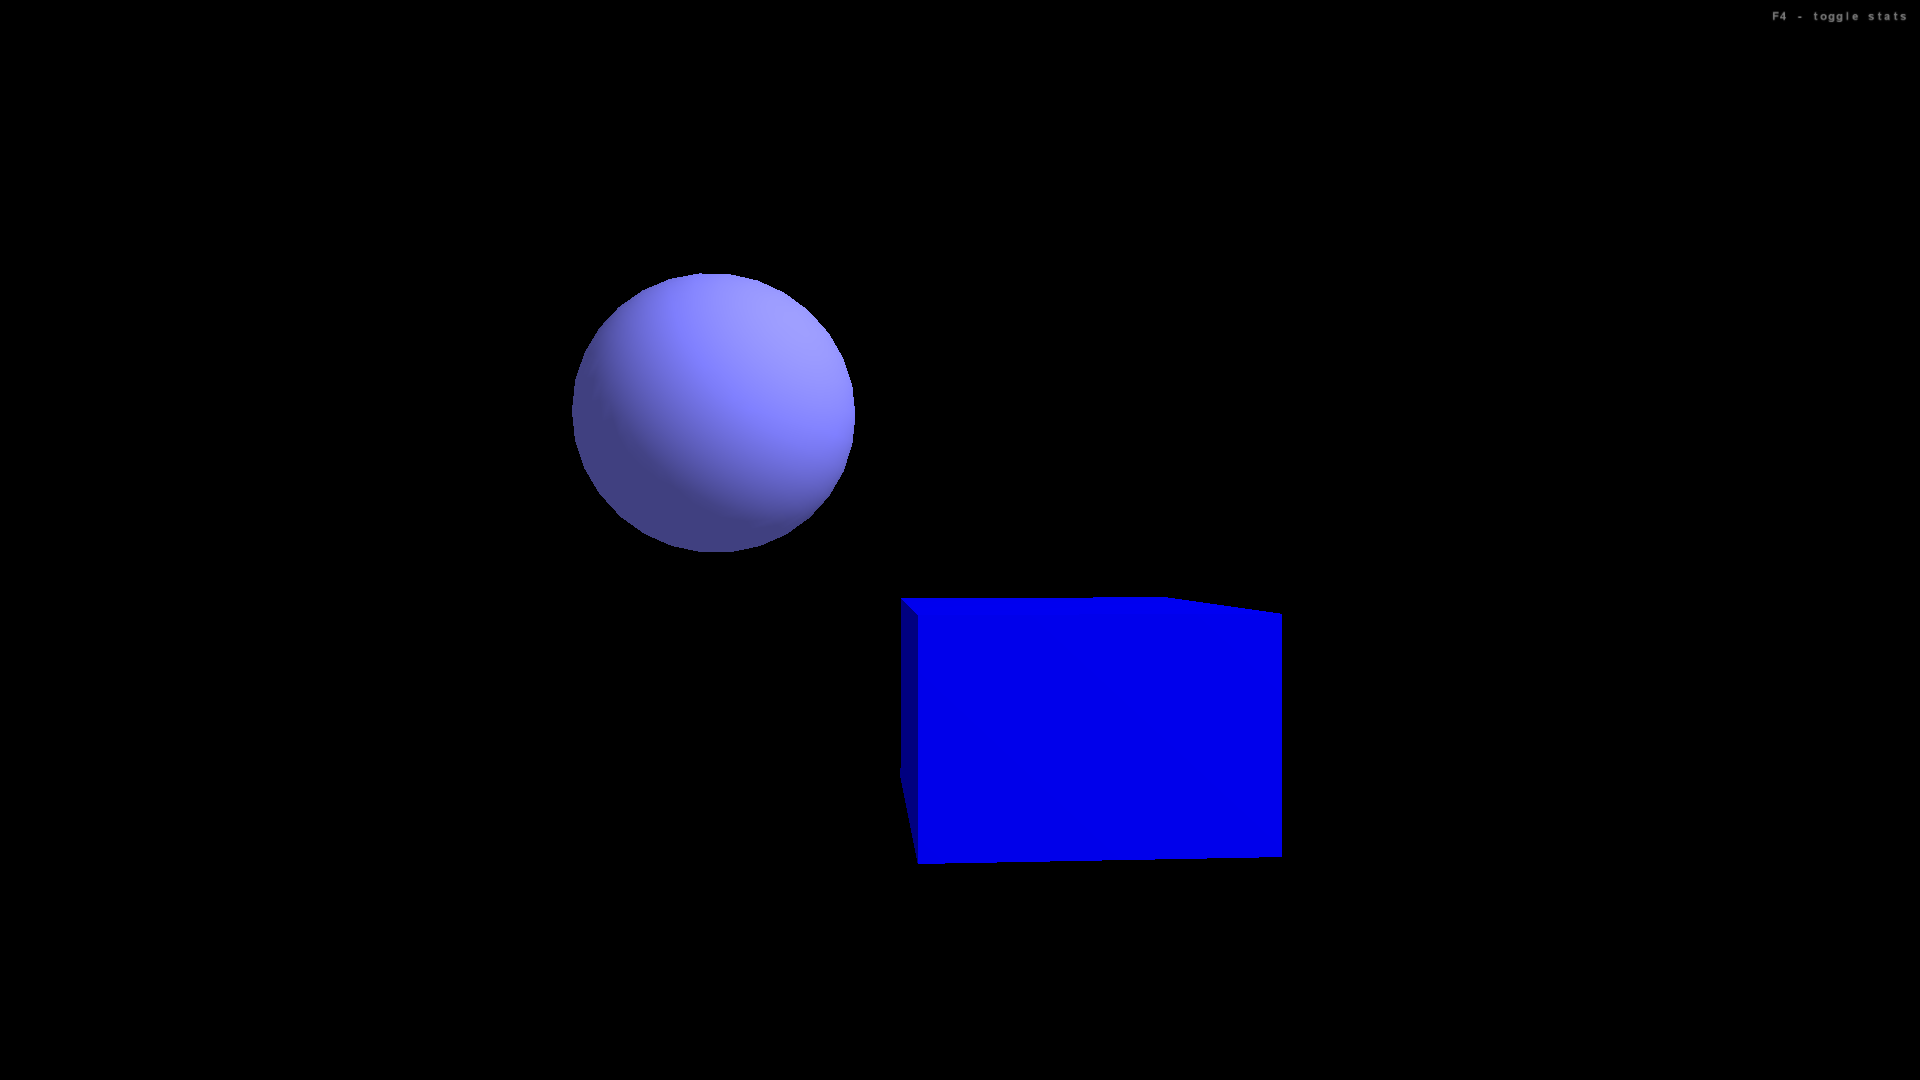
The goal:
Click to see full size
Click here to download the code. (If the page opens in the broswer, you can right click on link and click "Save Link As", or right click on the page and click "Save As")
         // most applications will want to extend the SimpleGame class
        import com.jme.app.SimpleGame;

        // a vector containing three float numbers;
        //   used to store positions and translations
        import com.jme.math.Vector3f;

        // geometric shapes used in program
        import com.jme.scene.shape.Box;
        import com.jme.scene.shape.Sphere;

        // use predefined colors and create custom colors
        import com.jme.renderer.ColorRGBA;

        // work with basic materials
        import com.jme.scene.state.MaterialState;

        /**
         *   Geometric shapes can be rendered with colors (this example)
         *      or have images applied to their surfaces (a future example).
         *   When applying colors, there a few approaches:
         *   (1) Apply a default color to each shape, and turn of the light source.
         *      (Drawback: all shading/depth effects are also turned off.)
         *   (2) Create a material that is a solid color; manually set the diffuse, ambient, emmisive, etc. colors.
         *      (Drawback: a long process.)
         *   (3) Apply a default color to each shape, and have the renderer use that as a material automatically.
         *      This is the method we will use in this example.
         *      We will also show how to use predefined RGBA colors and create our own.
         */
        public class ColorsDemo extends SimpleGame
        {
           // a geometric shape that will be rendered
           Box myBox;
           Sphere mySphere;

           public static void main(String[] args)
           {
               // create an instance of this program
               ColorsDemo app = new ColorsDemo();

               // before the main program starts, display the graphics configuration window
               //   where the user can choose among screen resolution, color depth, and full screen options
               app.setConfigShowMode(ConfigShowMode.AlwaysShow);

               // The start() method runs simpleInitGame(),
               //   then starts the game loop: simpleUpdate(), then simpleRender()
               // To terminate game loop, call finish()
               app.start();
           }

           protected void simpleInitGame()
           {
               // create a material to apply to geometric objects
               MaterialState customMaterial = display.getRenderer().createMaterialState();
               // the material will be the object's default color (as opposed to an image)
               //   and that color will be used for both ambient and diffuse effects
               customMaterial.setColorMaterial(MaterialState.ColorMaterial.AmbientAndDiffuse);
               // apply the material to both front and back sides of surfaces
               customMaterial.setMaterialFace(MaterialState.MaterialFace.FrontAndBack);
               // assign this rendering to the root node (and therefore, all its children in the scene graph)
               rootNode.setRenderState(customMaterial);

               // Parameters for the Box constructor:
               //   Box( String name, Vector3f center, float xRadius, float yRadius, float zRadius )
               myBox = new Box("b", new Vector3f(4,-3,0), 3, 2, 4);
               // set the object color, using a predefined color
               myBox.setDefaultColor( ColorRGBA.blue );
               // attach this object to the root node so that it will be rendered
               rootNode.attachChild( myBox );

               // create a new color
               ColorRGBA lightBlue = new ColorRGBA(0.5f, 0.5f, 1.0f, 1.0f);

               // Parameters for the Sphere constructor:
               //   Sphere( String name, Vector3f center, int zSamples, int radialSamples, float radius )
               //   Note: the "samples" parameters control the level of detail.
               //  3rd parameter: detail. 5 => cross section looks like pentagon.
               mySphere = new Sphere("s", new Vector3f(-2,2,6), 30, 30, 2 );
               // set the object color, using a custom color
               mySphere.setDefaultColor( lightBlue );
               // attach this object to the root node so that it will be rendered
               rootNode.attachChild( mySphere );
           }

           protected void simpleUpdate()
           {
               // nothing to add
           }

           protected void simpleRender()
           {
               // nothing to add
           }
        }