In DrJava, open the
BuggleWorld.java program. For this problem, you may
want to change the grid size to 25 or 30 so you
have plenty of room to experiment.
Next, make a copy of your WritingBuggle class from
homework 3, and modify it as follows:
 Recall that in homework 3, each letter was drawn in whatever the
current paint color was. Now the color will become a parameter to
the method.
Recall that in homework 3, each letter was drawn in whatever the
current paint color was. Now the color will become a parameter to
the method.
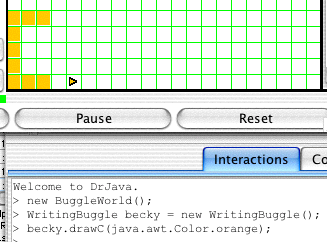
For each of the methods
drawS,drawC, etc, add another version of the method that takes in aColorparameter. For example,
becky.drawS(java.awt.Color.orange);
should draw an orange letter S, regardless of what color becky is before, whilebecky.drawS();
will still draw an S in whatever the current paint color is, as before. Test the new versions of each method, as well as making sure that the old versions still work.Hint: You should be able to write each of the new versions of the methods in two or three lines, not counting javadoc comments. If it takes more than that, you're probably duplicating the work you already did to write the original versions of the methods.
Change the
drawCourseNamemethod to use the new versions ofdrawS,drawC, etc;drawCourseNameshould end up several lines shorter than it was before, but still producing exactly the same result. Recall that in homework 3, each letter was 3 squares wide by 5
squares high, except the number 1 which was 1 square wide by 5
squares high.
Recall that in homework 3, each letter was 3 squares wide by 5
squares high, except the number 1 which was 1 square wide by 5
squares high.
For each of the methods
drawS,drawC, etc, add yet another version of the method that takes in two int parameterswidthandheightspecifying the size of the letters. (Thedraw1method should take in only a height; it'll always be one square wide.) Thusbecky.draw7(4,10);
should draw a digit 7 in the current color, four squares wide by ten squares high.Note: if the height is an even number, the letter S can't have its horizontal part exactly halfway up; make it appear just below the halfway point. Be sure to test
drawSwith both even and odd heights!By this time you probably have a lot of similar code between the two-parameter and no-parameter versions of the methods. Since the new two-parameter version is more general than the original version, change the no-parameter version of each method
drawS,drawC, etc. so that it calls the two-parameter version that you just wrote, thus reducing each of the no-parameter methods to about two or three lines long. They should produce the exact same results they did before.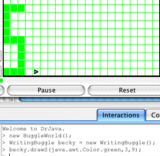 For each of the single-letter methods, add
yet another version which takes in three parameters: a
color, a width, and a height. You should be able to write each of
these in about two or three lines.
For each of the single-letter methods, add
yet another version which takes in three parameters: a
color, a width, and a height. You should be able to write each of
these in about two or three lines.
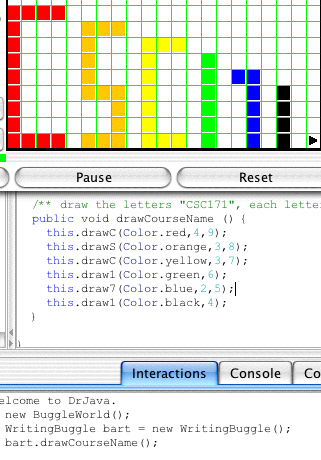
 Change the
 drawCourseNamemethod to use the three-parameter versions; see the example at right.


Choose one of the exercises P4.1 through
P4.7, and write an applet to do it.
Then do
exercise P4.8 (which requires writing both an Applet class and an
ordinary class named House).
For extra credit, do one
one of the exercises P4.9, P4.11, P4.12, P4.13, P4.15.
For each applet, follow these steps:
- Open BlueJ
- Create a "new project" and give it a name that indicates which problem you're doing, e.g. "HW4.6" for exercise P4.6
- Click the "New Class" button, choose "Applet", and specify a suitable class name of your choice, e.g. "MyApplet".
- Compile the program. There should be no compiler errors, because it's pre-written. (If there are, please let me know!)
- Run it by right-clicking on the class and choosing "Run applet", then clicking the "OK" button in the dialogue that comes up. Make sure it works as it is.
- Plan out a sequence of small steps that will get you from what the pre-written applet draws to what the problem in the book asks you to draw.
- For each of these steps in turn, modify the pre-written
paint()method (and any other parts of the class you need to modify) to do what you want it to.